
Last updated November 2, 2026
 Wrought iron
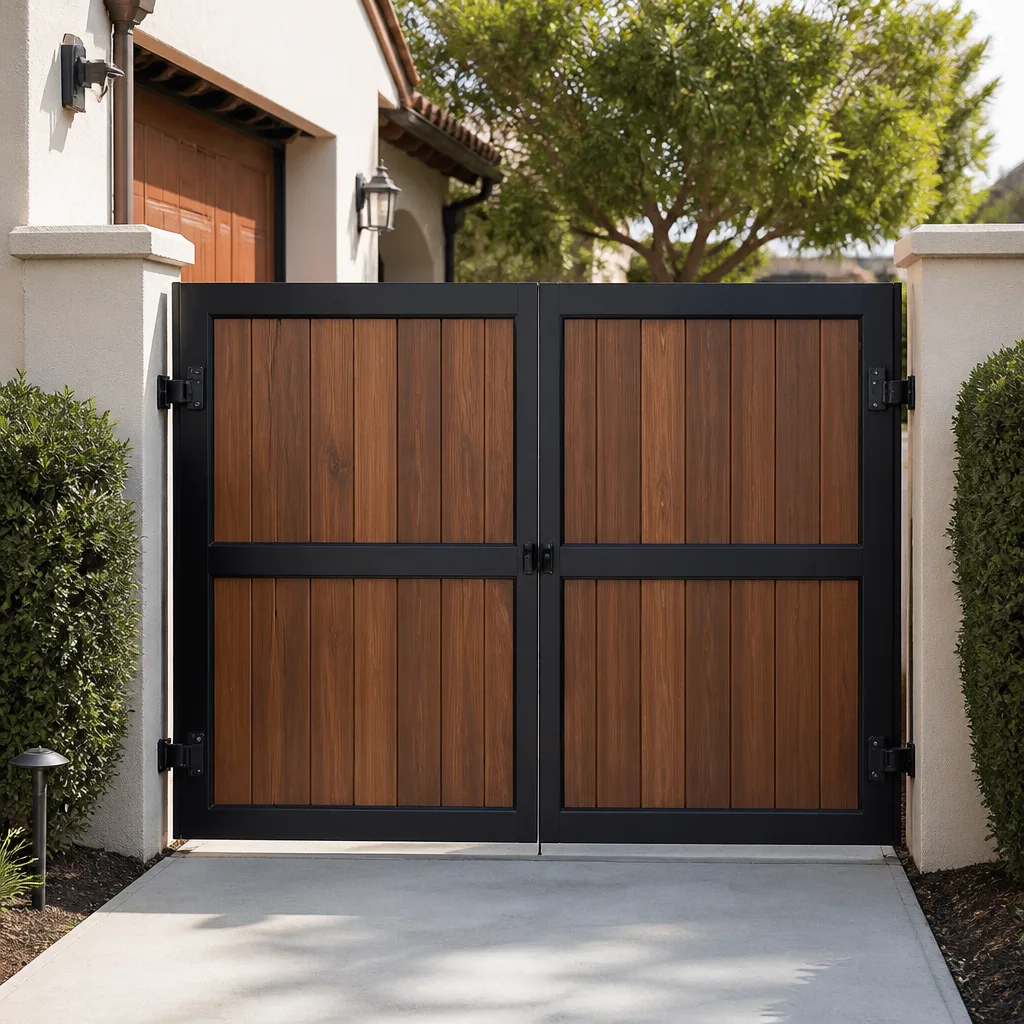 Wood & steel frame
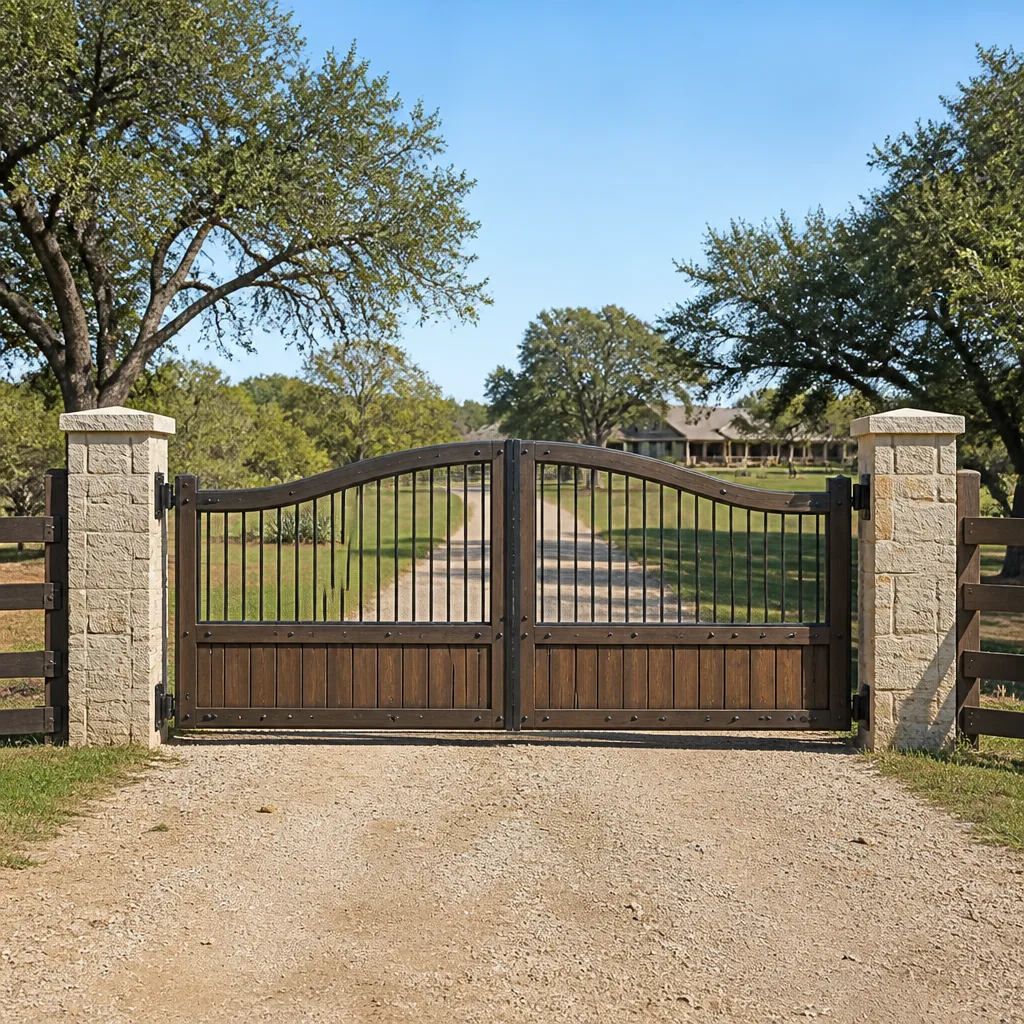 Farm & ranch
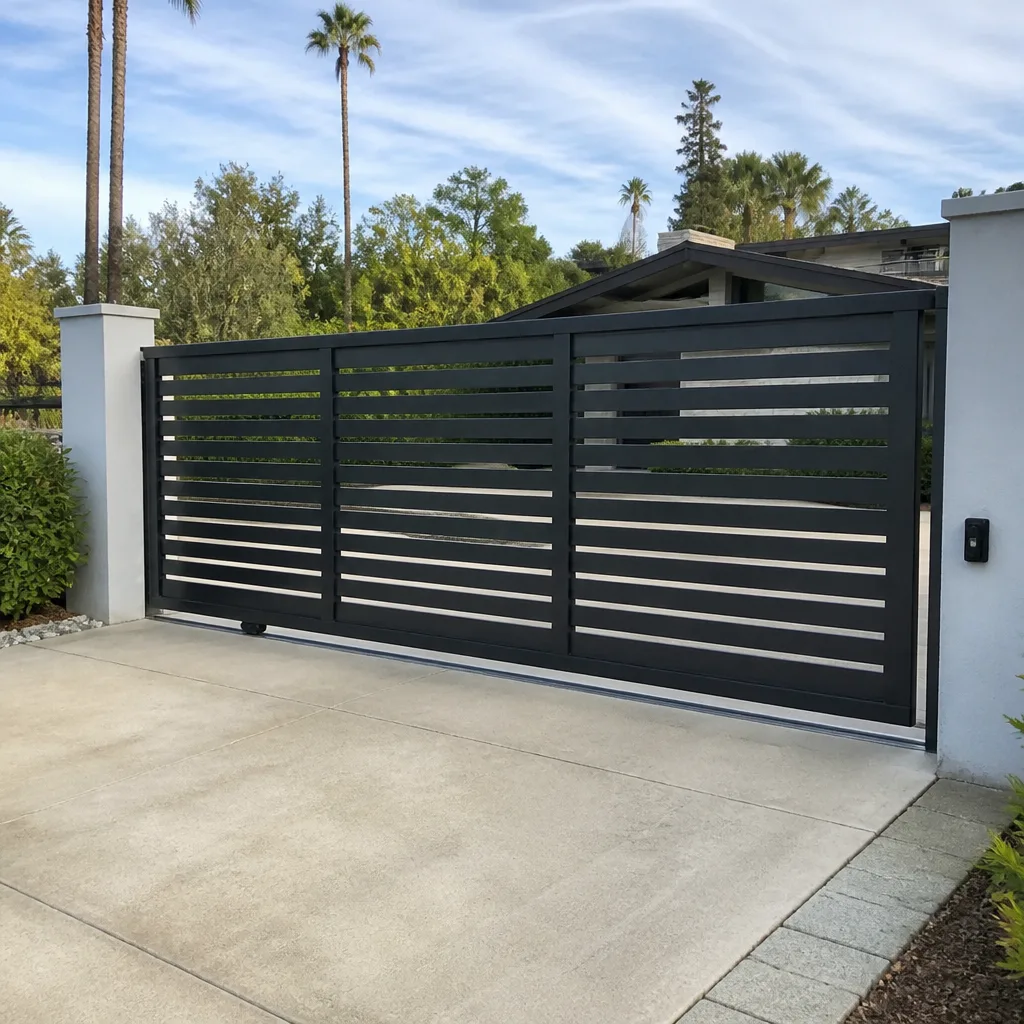 Sliding driveway gates
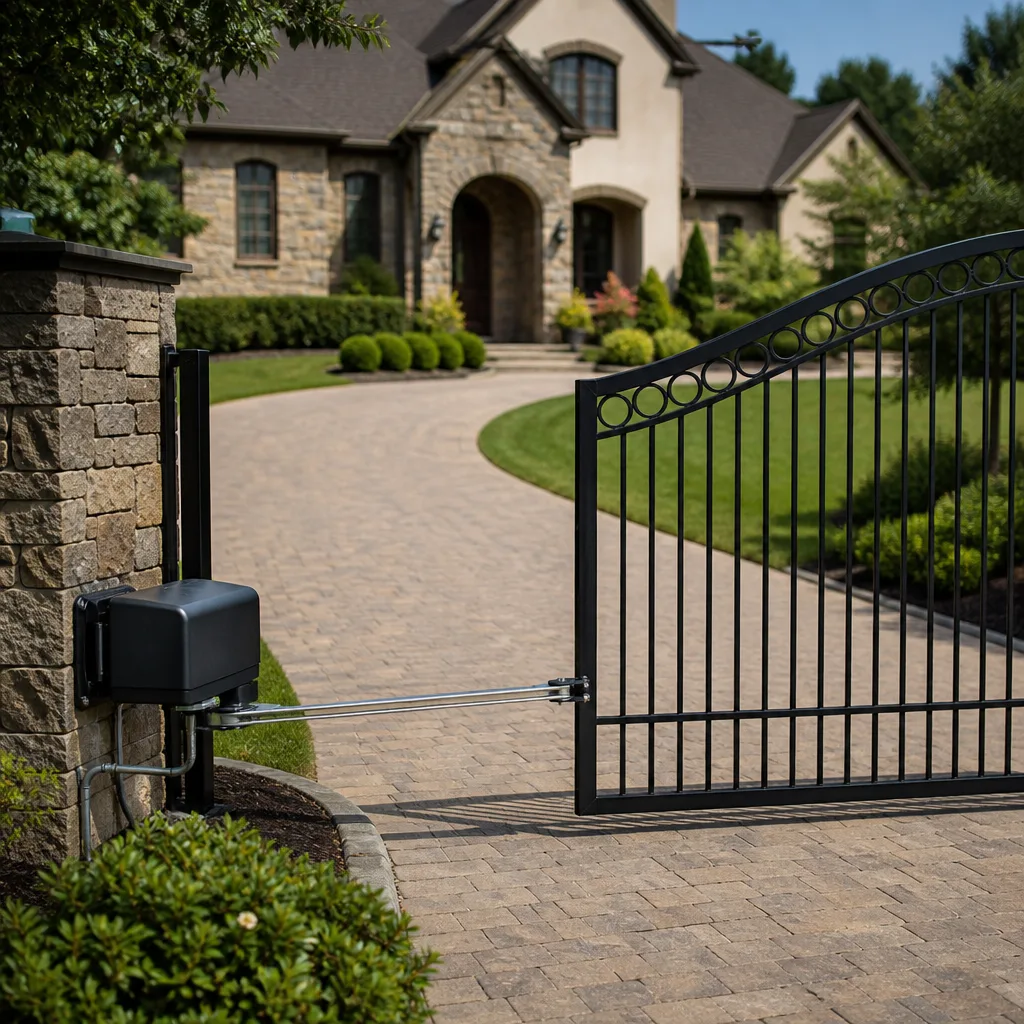 LiftMaster operators
Free on-site gate assessment - hinges, posts, and your LiftMaster or Nice gate operator checked before anything is quoted
The assessment is free and the quote is the invoice.
Get your free estimateGate Repair Troubleshooting: Common Problems and How to Fix Them
A gate that reverses immediately after opening isn’t broken, it’s talking. That behavior is the safety-sensor system telling you something specific, and misreading it leads homeowners to replace expensive operators when a $12 sensor reflector is the actual fix. Most gate failures follow predictable patterns. Once you learn to read those patterns, you can isolate the fault to a specific component before spending anything on parts. This guide walks through the diagnostic sequence we use on our Gate Repair services calls across Pomona every week, from the first symptom to the confirmed cause, so you can either fix the problem yourself or describe it to a technician in language that cuts diagnostic time in half.
Styles & brands we work with
- Wrought iron
- Wood & steel frame
- Farm & ranch
- Sliding driveway gates
- LiftMaster operators
Quick Answer
Most residential gate failures trace to one of five components: the power supply, the safety sensors, the limit switches, the control board, or a mechanical obstruction on the track or hinges. Start by confirming power at the outlet, then read the operator’s LED diagnostic codes before touching anything else. If the gate moves but behaves erratically, it’s usually a sensor or limit issue. If it’s completely dead, it’s usually power or the control board. Safety sensor and limit switch problems are the most common and least expensive to fix.
Table of Contents
- Symptom-to-Component Fault Mapping: What Your Gate Is Telling You
- Power Supply Problems: Transformers, Outlets, and Why “It’s Plugged In” Isn’t Enough
- Safety Sensor and Photo Eye Troubleshooting: The $12 Fix That Prevents $800 Replacements
- Limit Switch Failures: Why Your Gate Opens Partially or Reverses Mid-Cycle
- Control Board vs. Motor Failure: How to Tell Without Specialized Tools
- Mechanical Binding: Track, Hinges, and the Difference Between Stuck and Inhibited
- Loop Detectors and Safety Edges: The Most Misunderstood Parts of Your Gate System
- Common Mistakes to Avoid
- When to Call a Professional
- Frequently Asked Questions
- The Bottom Line
Symptom-to-Component Fault Mapping: What Your Gate Is Telling You
Every gate symptom narrows the fault to a specific part of the system. Here’s the mapping we use on service calls in Pomona, where summer heat and the occasional Santa Ana wind gust create specific stress patterns on gate hardware, and you can find Gate Repair Warning Signs: A Pomona Homeowner’s Reference Guide for additional context:
- Gate won’t open at all, no sound: This points to the power supply, the transformer, or a blown fuse on the control board. The motor isn’t receiving current. Check the outlet first, then the transformer, then the board.
- Gate hums but doesn’t move: The motor is getting power but the mechanical drive isn’t engaging. This usually means a broken drive belt, a stripped gear, or a failed capacitor on single-phase motors.
- Gate opens halfway then stops: Almost always a limit switch problem. The operator thinks the gate reached its open position when it hasn’t.
- Gate opens then immediately reverses: The safety sensor or photo eye is detecting an obstruction that isn’t there, or the sensor reflector is misaligned or dirty. This is the symptom homeowners most often misdiagnose.
- Gate beeps but doesn’t move: On LiftMaster and Linear operators, beeping with no movement usually means the control board is in lockout mode, often after a power surge or repeated obstruction detection.
- Gate moves slowly or labors: Mechanical resistance. The hinges need lubrication, the track has debris, or the gate is out of square and dragging on a wheel.
- Gate works intermittently: This is the hardest to diagnose because it points to a loose connection, a failing relay, or a loop detector picking up false signals. Intermittent faults often worsen with temperature swings, which is a clue in itself.
Understanding which component matches which symptom saves you from replacing parts on guesswork. In our experience, about two-thirds of gate problems in Pomona are electrical or sensor-related, not mechanical failures of the gate itself. That’s why the first diagnostic step is always to check what the operator’s LEDs are telling you before touching the gate structure.
Power Supply Problems: Transformers, Outlets, and Why “It’s Plugged In” Isn’t Enough
A dead gate almost always starts with a dead power source. The sequence to check power properly is:
- Confirm the outlet works. Plug a lamp or phone charger into the same outlet the operator uses. If the outlet is dead, check the GFCI reset button and the breaker panel. GFCI outlets on exterior circuits trip frequently during Pomona’s damp winter mornings.
- Check the transformer. Gate operators run on low-voltage DC, typically 12V or 24V, converted from 120V AC by a transformer. If the transformer is warm but the operator is dead, the transformer may be failing. A multimeter set to AC voltage across the transformer’s output terminals should read within 10% of the rated output.
- Inspect the fuse. Most control boards have a blade-style automotive fuse or a glass fuse. A blown fuse usually means something downstream drew too much current, which means replacing the fuse alone may not fix the underlying fault.
- Look for battery backup. Many operators including FAAC and BFT models have battery backup systems. If the batteries are dead, the gate may refuse to operate even when plugged in, because the board routes through the battery circuit.
One thing we see frequently in Pomona is power surge damage after storms or during heat-wave brownouts. A control board that worked fine yesterday and is completely dead today often took a surge that a simple outlet strip wouldn’t stop. If power checks out at every point and the operator is still dead, the control board is the next suspect.
If you’re unsure about working with live electrical components, stop at the outlet check and call a technician – our How to Hire a Gate Repair Contractor in Pomona: A Step-by-Step Guide can help you choose the right one. The transformer and board operate at low voltage, but the input side is still 120V AC, and that’s enough to hurt you.
Safety Sensor and Photo Eye Troubleshooting: The $12 Fix That Prevents $800 Replacements
Safety sensors work by sending an invisible beam from a transmitter on one gate post to a reflector or receiver on the opposite post. When the beam is blocked, the operator refuses to close the gate, or in some configurations, reverses an opening gate. This is the exact system that causes the “opens then reverses” symptom so many homeowners mistake for a bad motor.
Here’s the diagnostic sequence for sensor problems:
- Check the LEDs on the sensors. Most sensors have a small light that indicates beam alignment. A solid green light means the beam is aligned and the sensor is working. A blinking or red light means misalignment or blockage.
- Clean the lenses. Dust, spider webs, and hard water spots from sprinklers block the beam. In Pomona, sprinkler overspray that dries on the sensor lens is a common culprit. Wipe both lenses with a dry cloth.
- Check the reflector or receiver alignment. The reflector on the opposite post can shift over time as the post settles or expands in heat. Realign it by loosening the mounting bracket and aiming it directly at the transmitter until the LED turns solid.
- Wiggle test the wiring. A sensor that works sometimes and fails sometimes usually has a loose wire at the terminal block or a crimped wire inside the conduit. Gently wiggle each wire with the system powered on and watch for LED changes.
The sensor reflector itself costs about $12 to $25. The operator motor replacement costs $500 to $800 or more depending on the model. That’s the price of misdiagnosis. Before you call for a replacement operator, spend five minutes checking the sensors. We’ve lost count of how many “dead” operators in Pomona turned out to be a sensor issue the whole time.
On LiftMaster and Linear operators specifically, sensor faults trigger specific diagnostic codes. LiftMaster uses a blinking LED pattern on the control board. Linear operators often display an error code on the LCD screen or via a series of beeps. Checking the manual for your specific model is worth the thirty seconds it takes.
Limit Switch Failures: Why Your Gate Opens Partially or Reverses Mid-Cycle
Limit switches tell the operator where the gate’s open and closed positions are. They’re mechanical switches triggered by the gate’s position, and they wear out over time or drift out of adjustment. When a limit switch fails, the operator loses track of where the gate is, and the gate behaves erratically.
Symptoms of limit switch failure include:
- The gate opens partway and stops, thinking it’s fully open.
- The gate closes partway and reverses, thinking it hit the close limit early.
- The operator continues to run briefly after the gate stops, causing a grinding sound.
- The gate opens fully but the operator keeps trying to open, causing the motor to strain.
Adjusting limit switches varies by brand:
- LiftMaster: Modern models use the control panel interface to set open and close limits electronically. Older models use mechanical cam limit switches inside the operator housing. The adjustment procedure is in the manual and takes about ten minutes.
- FAAC: FAAC operators typically use magnetic limit switches or mechanical microswitches depending on the model. Some FAAC units require a small flathead screwdriver to adjust the limit cam.
- BFT: BFT hydraulic operators use inline limit switches that can drift as the hydraulic fluid heats and cools. Rechecking the limits after extreme temperature changes in Pomona’s summer is part of normal maintenance for these operators.
- Linear: Linear operators often use reed switches triggered by magnets on the drive rail. If the magnet falls off or shifts, the operator loses its limit reference entirely.
The limit switch itself is usually a $15 to $40 part. The labor to adjust it is the bigger cost factor. If your gate is stopping at the wrong position consistently, not erratically, the limits are probably just out of adjustment. If the behavior changes every cycle, the switch itself is likely failing and needs replacement.
Improperly adjusted limit switches can cause the motor to strip its own gears, because the operator keeps pushing after the gate physically stops. Replacing limit switches is within reach for a careful DIYer, but gear replacement is not. If you hear grinding at the end of the travel, stop running the gate and address the limits before the damage compounds.
Control Board vs. Motor Failure: How to Tell Without Specialized Tools
This is the diagnosis that saves homeowners the most money, because a control board is usually $150 to $400 while a motor replacement can run $500 to $900 or more. Telling them apart is simpler than most people think.
If the gate is completely dead and power is confirmed at the outlet:
- Unplug the operator for 60 seconds, then plug it back in. Some boards reset after a power interruption and resume normal operation. If the gate works after the reset, you likely had a board lockup, not a hardware failure. This is especially common on FAAC and BFT boards after power surges.
- Look at the control board LEDs. If the board has power but the motor doesn’t run, the board’s relay may be stuck or the motor capacitor may be dead. A relay click sound when you trigger the gate means the board is trying to send power. No click means the board isn’t sending the command.
- Test the motor directly. With the power disconnected, a multimeter set to resistance across the motor terminals should show continuity. An open circuit means the motor windings are burned out. That’s a motor replacement, not a board replacement.
If the gate runs but behaves erratically: That’s almost never a motor failure. Motors fail in one of two ways: they stop running entirely, or they become weak and slow. Erratic behavior like reversing, stopping mid-cycle, or refusing to respond consistently points to the control board, sensors, or limit switches. The motor itself is the last component to fail in most residential gate systems, which is why replacing the motor on a hunch is an expensive mistake.
In Pomona specifically, we see more board failures than motor failures, and the pattern is consistent: ants and other insects crawling into the control board enclosure and shorting traces. Ants are attracted to the warmth of the board and the electromagnetic field around it. A dead ant colony on a circuit board is a surprisingly common sight. Sealing the board enclosure and keeping vegetation away from the operator reduces this risk significantly.
For more detail on diagnosing electric problems specifically, our Electric Gate Repair in Pomona guide walks through the full electrical diagnostic flow including board-level testing and multimeter use.
Mechanical Binding: Track, Hinges, and the Difference Between Stuck and Inhibited
A gate that won’t move is either electrically inhibited or mechanically stuck. The distinction matters because the fixes are completely different. An electrically inhibited gate has a safety system actively preventing movement for a reason. A mechanically stuck gate has physical resistance the motor can’t overcome.
To tell the difference, most operators have a manual release or disconnect. Pulling the release and pushing the gate by hand tells you everything:
- Gate moves freely by hand: The problem is electrical or in the operator. The motor, drive, or control system isn’t applying force. Stop looking at the hinges and track and focus on the operator.
- Gate is hard to move by hand: The problem is mechanical. The motor may be perfectly fine but unable to overcome the physical resistance. Continuing to run the operator against this resistance will strip the drive gear or burn the motor.
- Gate moves freely at first, then binds at a specific point: The track is bent, the hinges are sagging, or a wheel has failed at a specific position. This pattern is common on Cantilever gates where the gate’s weight shifts as it opens.
Common mechanical binding causes in Pomona include:
- Clay soil expanding and contracting with moisture changes, shifting gate posts slightly out of alignment.
- Rust and corrosion on steel track and rollers during winter rain months.
- Debris accumulating in the track channel, especially leaves and dirt blown by Santa Ana winds.
- Worn ball bearings in the gate wheels or rollers, causing the gate to drag.
- Loose hinge bolts on swing gates, allowing the gate leaf to sag and scrape the ground.
If the gate binds, address the mechanical issue before running the operator again. Running a bound gate under power converts a $20 hinge repair into a $500 drive replacement. The manual release is your diagnostic tool here. Use it first. This applies equally to the repair side of things and, if the gate is beyond saving, to evaluating whether Gate Installation in Pomona is the better path forward.
Loop Detectors and Safety Edges: The Most Misunderstood Parts of Your Gate System
Loop detectors and safety edges are both safety devices, but they work completely differently and fail in different ways. Understanding the distinction prevents thousands of dollars in unnecessary operator replacements.
Loop detectors are buried wire loops under the driveway surface, typically on the exit side. They detect the metal mass of a vehicle and trigger the gate to open. They don’t sense people, plastic, or aluminum. The loop detector itself is a small electronic module usually mounted near the control board.
Loop detector symptoms and causes:
- Gate opens for no apparent reason: The loop detector sensitivity is set too high, or there’s electrical interference from nearby power lines. Underground power lines running near the loop can cause false triggers, which is a known issue in some older Pomona neighborhoods with above-ground utility infrastructure.
- Gate doesn’t open when a car pulls up: The loop wire is broken, usually from concrete cracking or freeze-thaw stress. The detector may also need a sensitivity adjustment.
- Gate opens, immediately closes, then opens again: The detector is chattering, often from a loose connection or a failing relay inside the module.
Safety edges are physical sensors mounted on the leading edge of the gate. They detect contact with an obstruction and reverse the gate to prevent crushing. They’re mechanical or pneumatic and are prone to physical wear:
- Rubber safety edge is cracked or compressed: The pneumatic switch inside can’t trigger properly, meaning the edge may fail to detect an obstruction. This is a serious safety concern and should be addressed immediately.
- Safety edge triggers falsely in the heat: Pneumatic edges expand in high temperature, which can trigger the switch without contact. This is a known problem on hot summer afternoons in Pomona and typically resolves at night.
- Safety edge wiring is worn or exposed: Gate movement flexes the wire at the hinge point. Over years, the insulation cracks and the wire shorts, causing intermittent false triggers or complete loss of the safety function.
Safety edges are life-safety devices. If you suspect yours is not working, test it by running the gate closed against a cardboard box or other soft object that won’t be damaged. The gate should reverse on contact. If it doesn’t, stop using the gate and have the edge replaced before anyone or anything gets hurt. Gate operators exert hundreds of pounds of force at the gate edge, and that’s enough to crush a child or pet. This is not the component to postpone.
If you’re working through an electric gate issue and aren’t sure whether your problem is the loop, the edge, or something else entirely, the Gate Repair Pomona home page has a service overview that explains what a full diagnostic visit covers.
Common Mistakes to Avoid
- Replacing the operator before checking the sensors. This is the most expensive mistake in residential gate repair, and it happens constantly. The sensor system is the #1 cause of “broken” gates that aren’t actually broken. Check sensors, limits, and power before you spend a dime on an operator.
- Running a bound gate repeatedly. If the gate won’t move and you keep pressing the remote button, you’re grinding the drive gear or overheating the motor. Two or three attempts max, then switch to manual mode and diagnose.
- Lubricating electrical components. WD-40 on a control board, limit switch, or sensor will cause shorts and attract dust. Lubricants go on hinges, wheels, and mechanical parts only, and even then sparingly.
- Adjusting limit switches without noting the original positions. If you turn the adjustment screws without marking where they started, you can lose the gate’s calibration entirely and create a situation worse than the original problem. Mark everything before adjusting.
- Ignoring intermittent problems until they become permanent. A gate that fails once a week will fail permanently at some point, and that point tends to arrive when you’re late for something. Intermittent faults are diagnostic gold if addressed while still occurring. Once the failure becomes permanent, the symptom trail goes cold.
- Bypassing safety devices to “fix” the problem. Jumping out a photo eye or safety edge to get the gate working again disables a life-safety system. The gate may work, but it can crush someone. This is the one DIY shortcut we tell everyone never to take.
- Working on the electrical system with the power connected. Low voltage is still electricity. The transformer input side is 120V AC. Kill the breaker before opening the operator housing.
When to Call a Professional
Some gate problems are straightforward DIY fixes: cleaning sensor lenses, resetting a breaker, tightening hinge bolts, clearing debris from the track. Others are not. If the control board is exposed, if the motor capacitor is suspect, if the loop detector needs bench testing, or if the safety edge is compromised, call a technician. The cost of misdiagnosis plus the cost of the wrong part plus the cost of the time wasted usually exceeds the cost of a service call. If the gate is beyond reasonable repair and you need a full replacement, a specialist can spec and install the new system correctly, and the same team that diagnosed the old gate will know exactly what failed and how to avoid it in the new one. Gate Repair in Pomona is our core service area, and we offer free estimates. Call (855) 382-5690.
Frequently Asked Questions
Most gate repairs in Pomona run between $150 and $450 depending on the component. Sensor realignment or cleaning is on the low end at $75 to $150. Limit switch replacement typically runs $150 to $250. Control board replacement runs $250 to $450 including the part. Motor replacement runs $500 to $900 depending on the operator model and brand. We quote the exact price before any work starts. Call (855) 382-5690 for a free estimate.
Most gate repairs can be completed on the first visit if the needed part is on the truck. Our technicians carry common parts for LiftMaster, FAAC, BFT, Linear, Viking, Ghost Controls, DoorKing, Elite, and Mighty Mule operators, which means sensor, switch, and capacitor failures are usually resolved same day. Control board and motor replacements may require a follow-up visit if the specific board isn’t in stock. Call (855) 382-5690 to schedule.
A gate that opens halfway and reverses is usually responding to a safety sensor false trigger or a misadjusted limit switch. The operator believes it has reached the open limit when it hasn’t, or it’s detecting an obstruction that isn’t there. Check the sensor LEDs and clean the lenses first. If the problem persists, call (855) 382-5690.
Beeping with no movement is a lockout signal. On LiftMaster and Linear operators, repeated obstruction detection or a power surge puts the board into lockout mode. Unplug the operator for 60 seconds and reconnect. If the beeping continues, the board is detecting a fault it won’t clear on its own, and a technician is needed to read the diagnostic code.
We service LiftMaster, FAAC, BFT, Linear, Viking, Ghost Controls, DoorKing, Elite, and Mighty Mule. If your gate uses one of these brands, we know the specific fault codes, adjustment procedures, and common failure points for your exact model. If your brand isn’t on this list, call us anyway. We can diagnose most residential gate systems regardless of brand.
Pull the manual release and push the gate by hand. If it moves freely, the problem is electrical. If it’s hard to move or binds at a specific point, the problem is mechanical. This single test separates operator problems from gate structure problems and saves significant diagnostic time. Call (855) 382-5690 if you need help interpreting the result.
The Bottom Line
Gate troubleshooting is a process of elimination, and the elimination order matters. Check power first. Check sensors second. Check limits third. Check the board fourth. Check the motor last, because the motor is almost never the problem. Most gate failures in Pomona are electrical or sensor-related, not mechanical, and the parts involved are inexpensive when correctly diagnosed. The skill is in the diagnosis, not the replacement. If you work through this sequence and still don’t have an answer, or if the problem involves safety devices, a control board, or live electrical components, call a specialist. The right diagnosis on the first visit costs less than the wrong part on the second. Call (855) 382-5690 and tell us exactly what the gate is doing. That conversation alone usually narrows the problem before we even pull into your driveway.
Written by the team at Gate Repair Pomona, serving Pomona since 2014.
See the difference
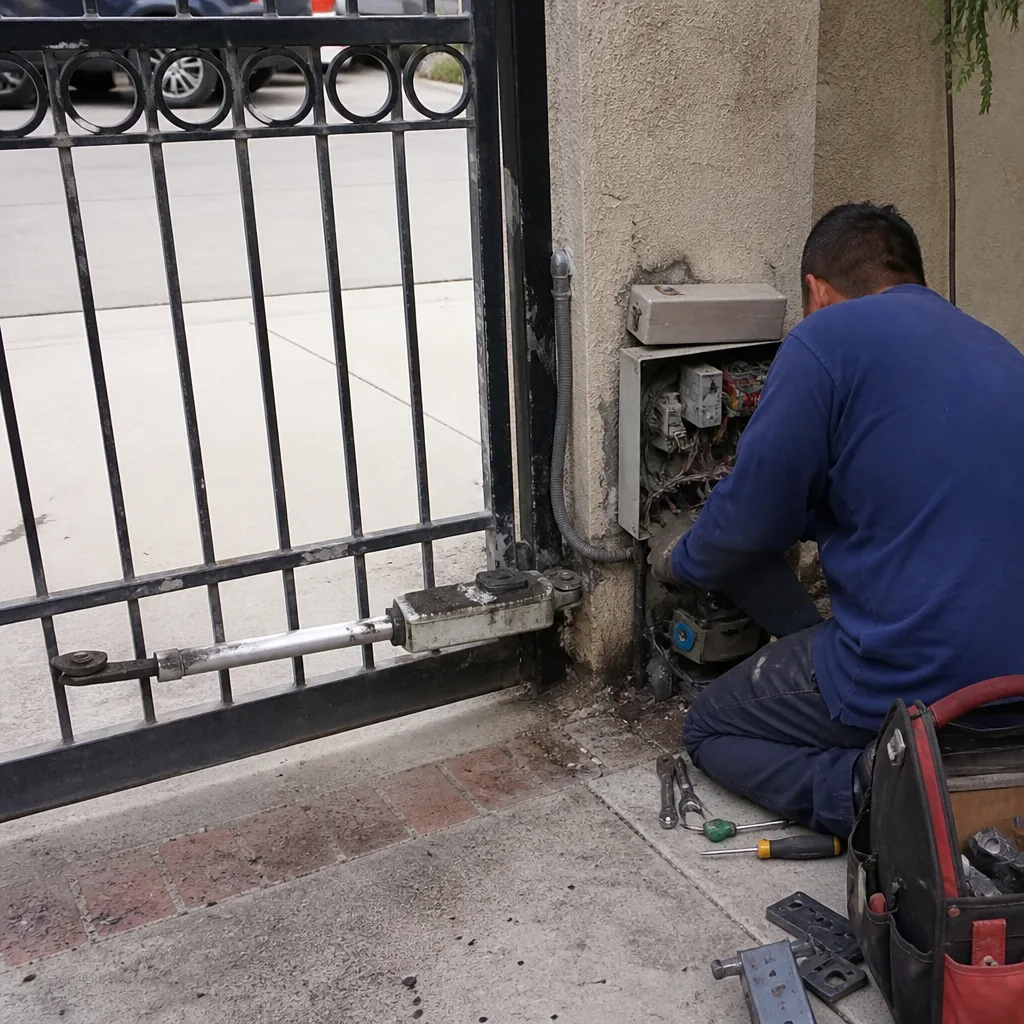 Before
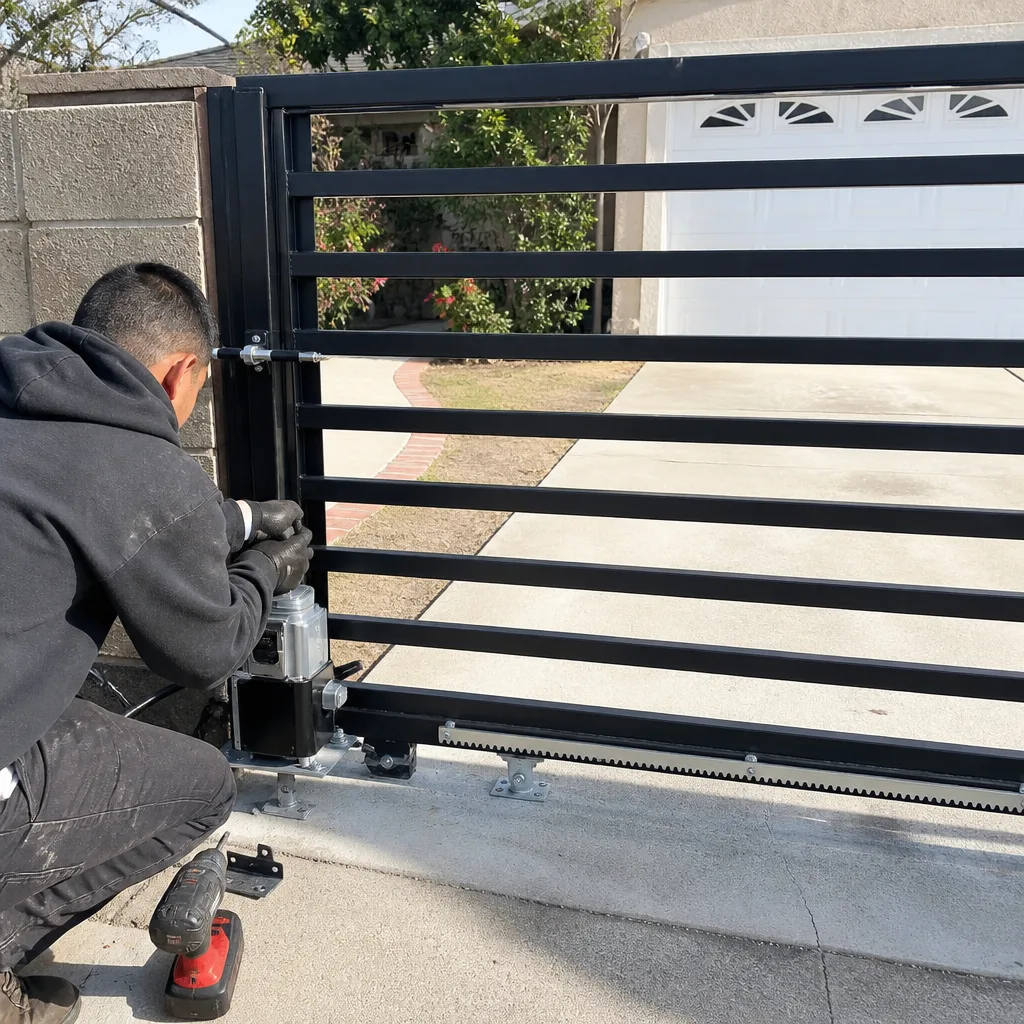 After
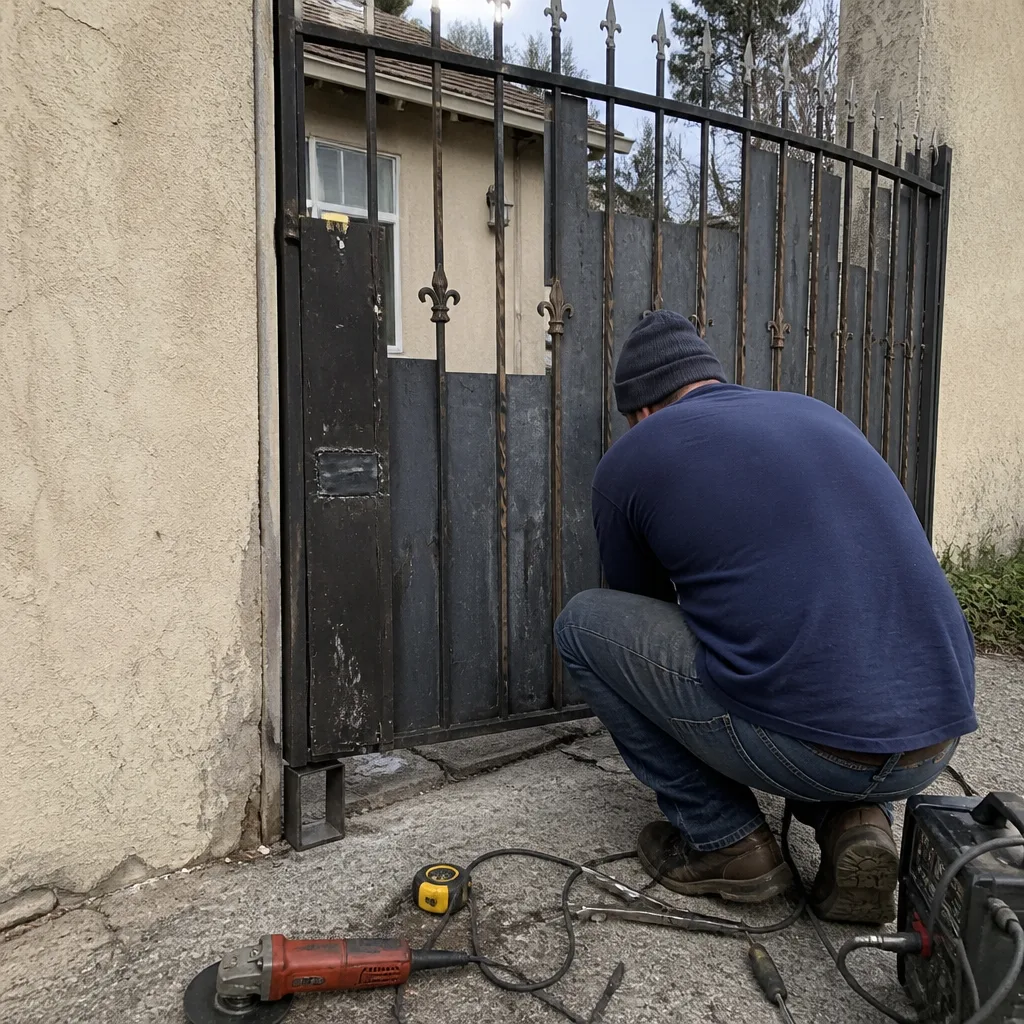 Before
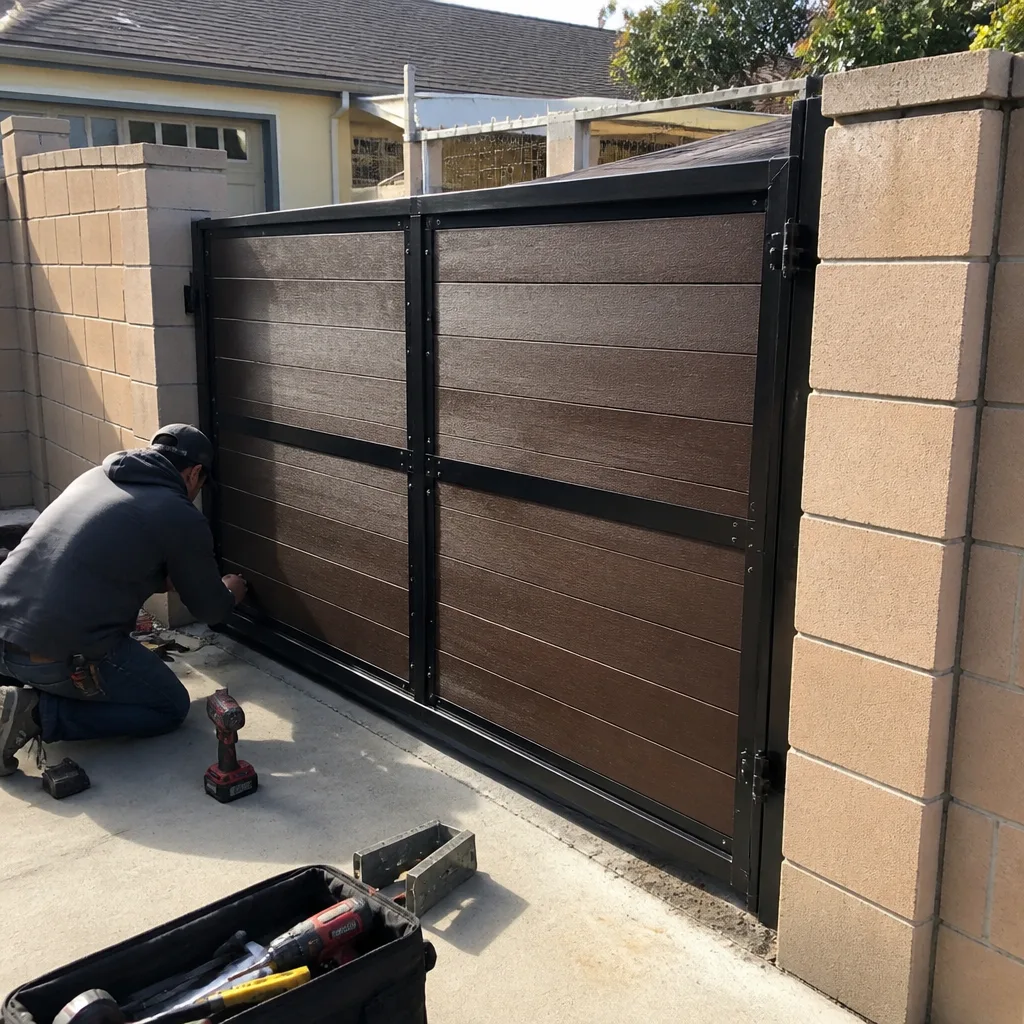 After
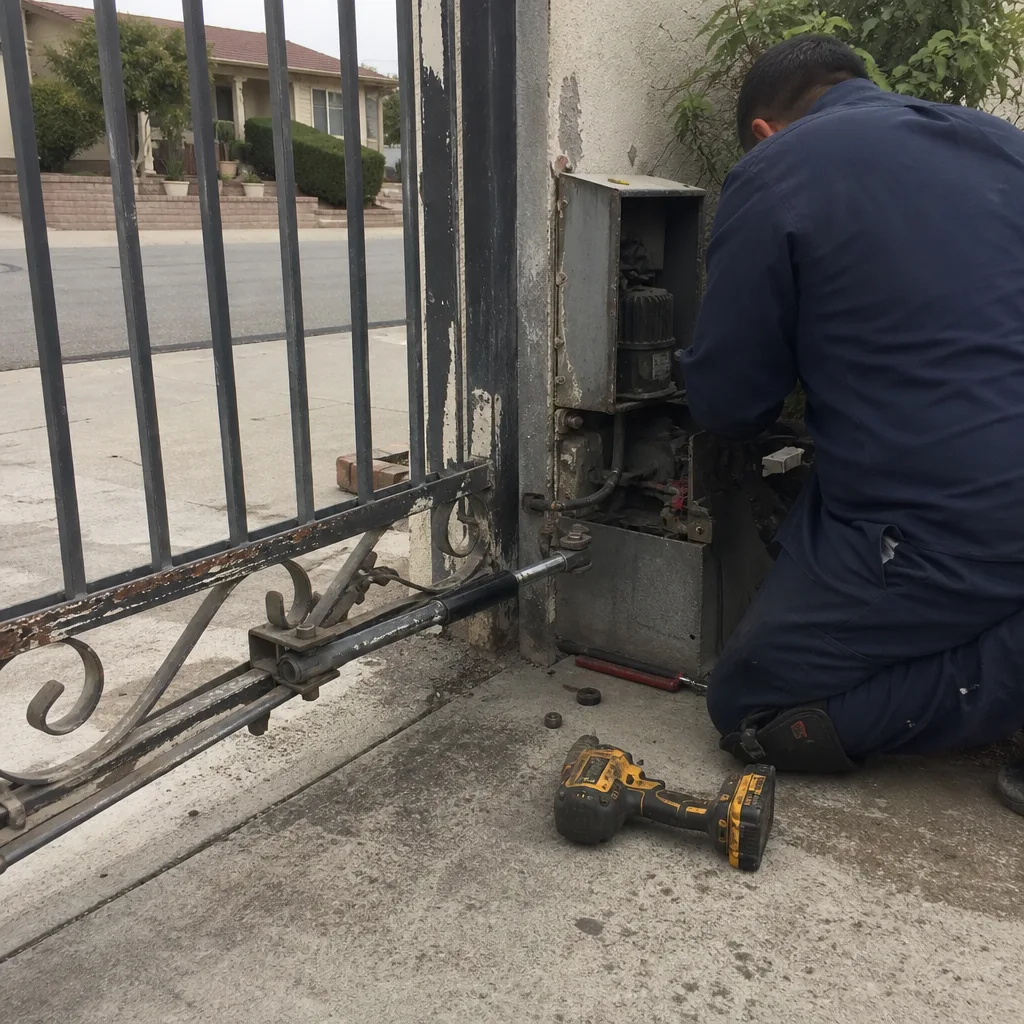 Before
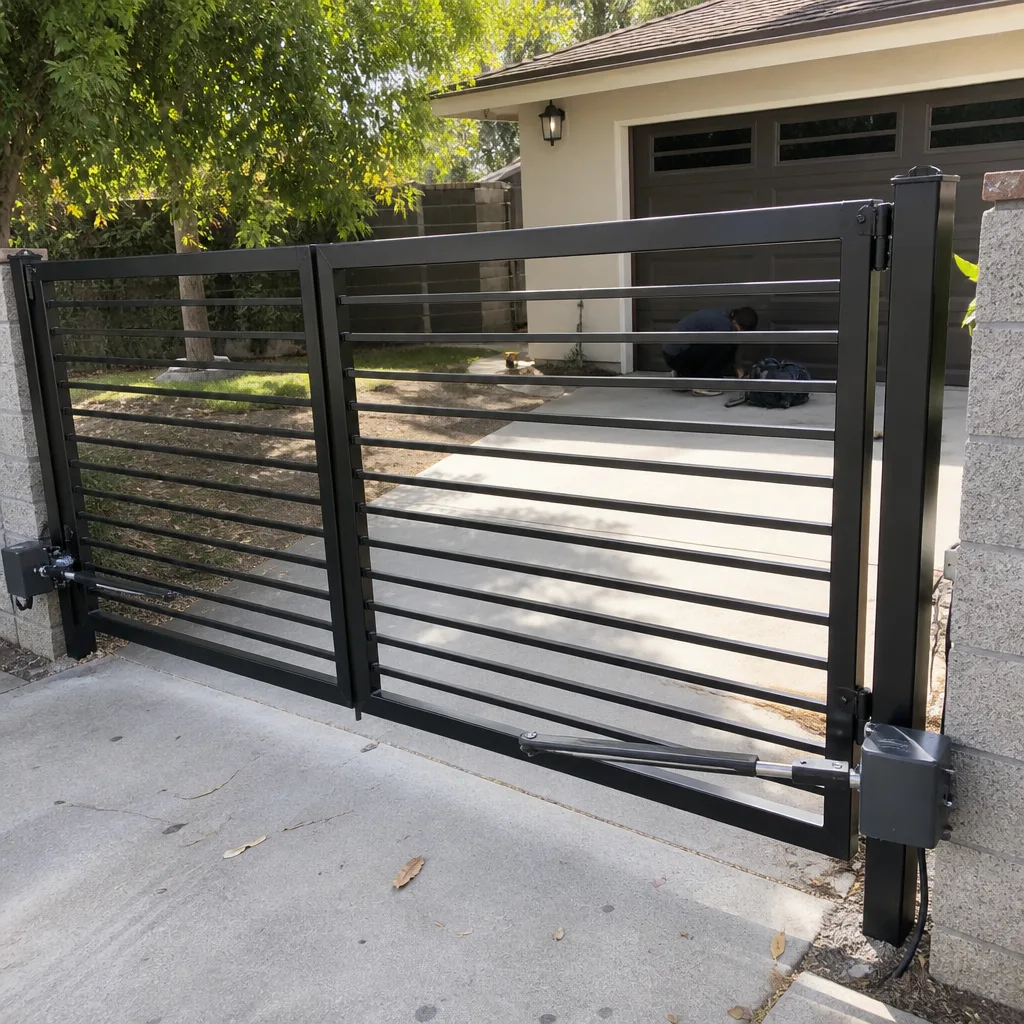 After