
Last updated November 2, 2026
 Wrought iron
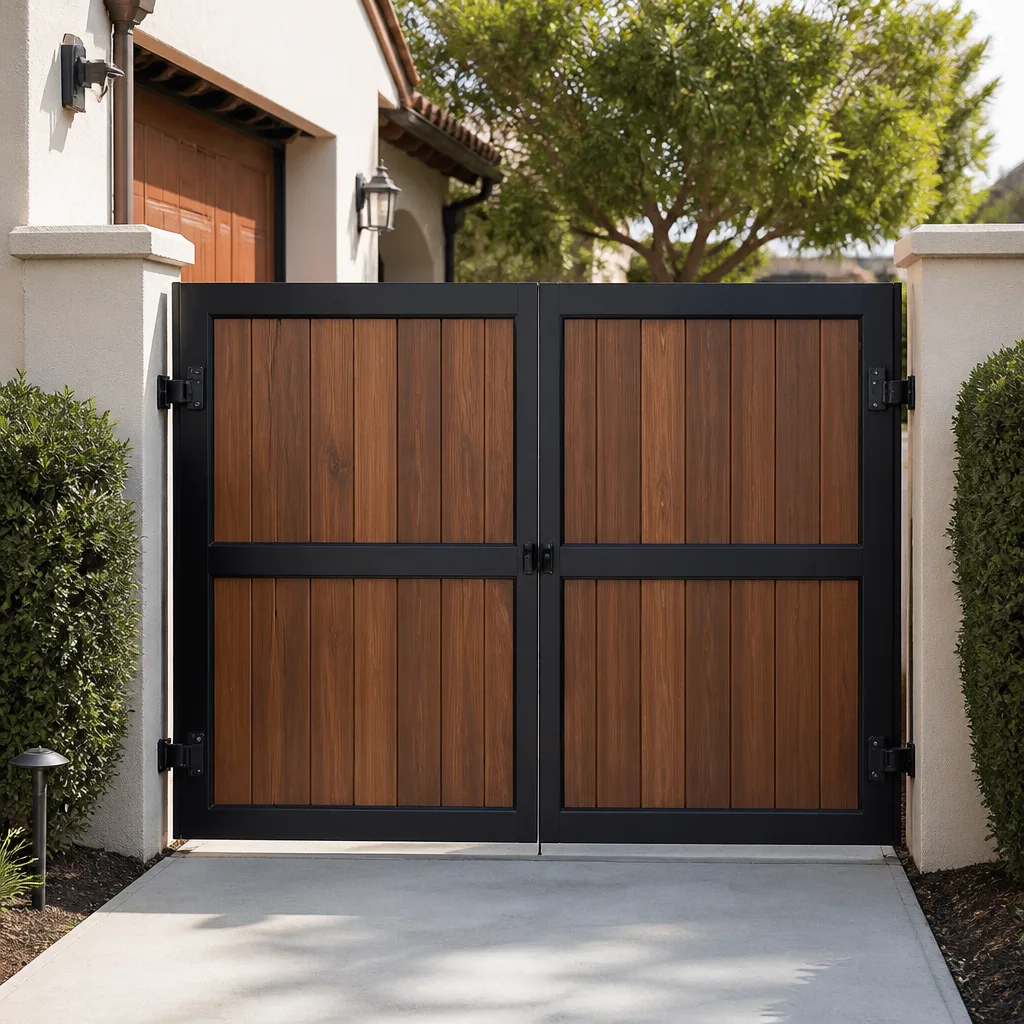 Wood & steel frame
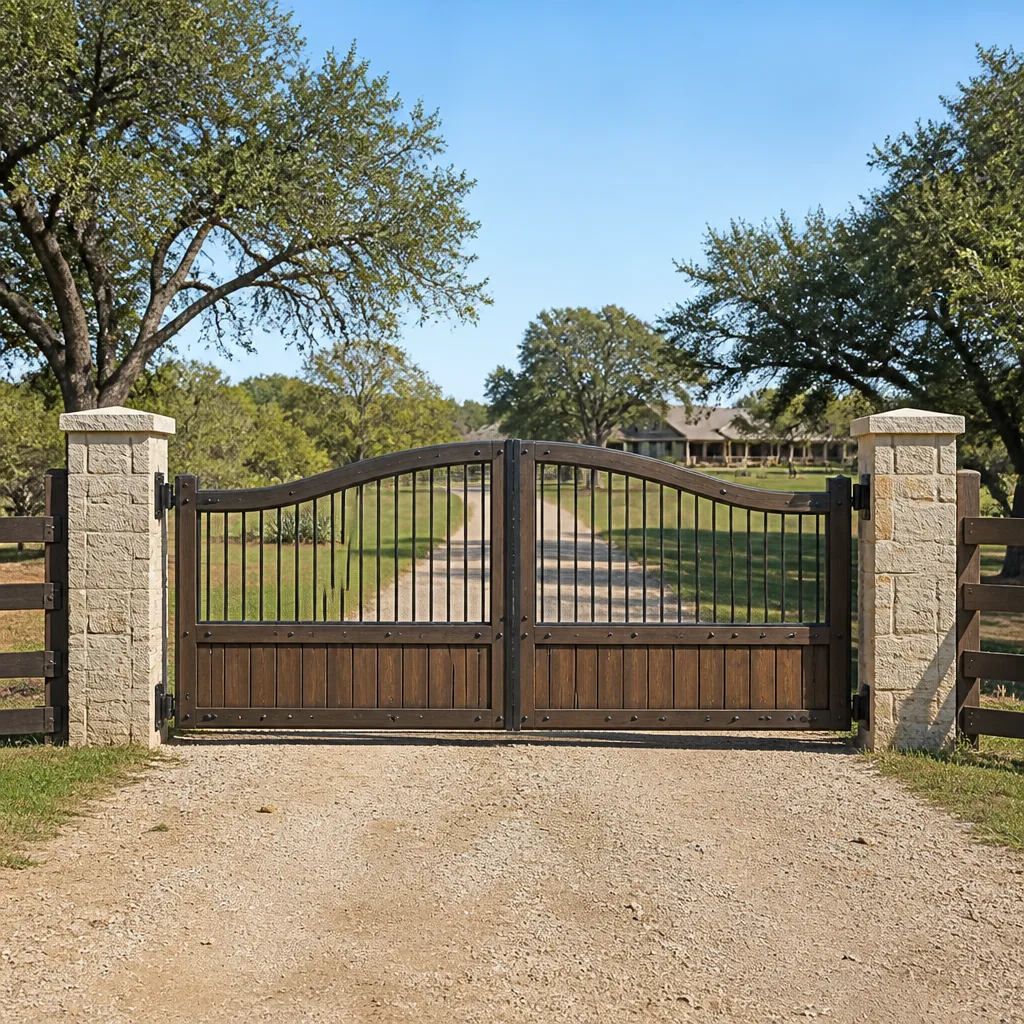 Farm & ranch
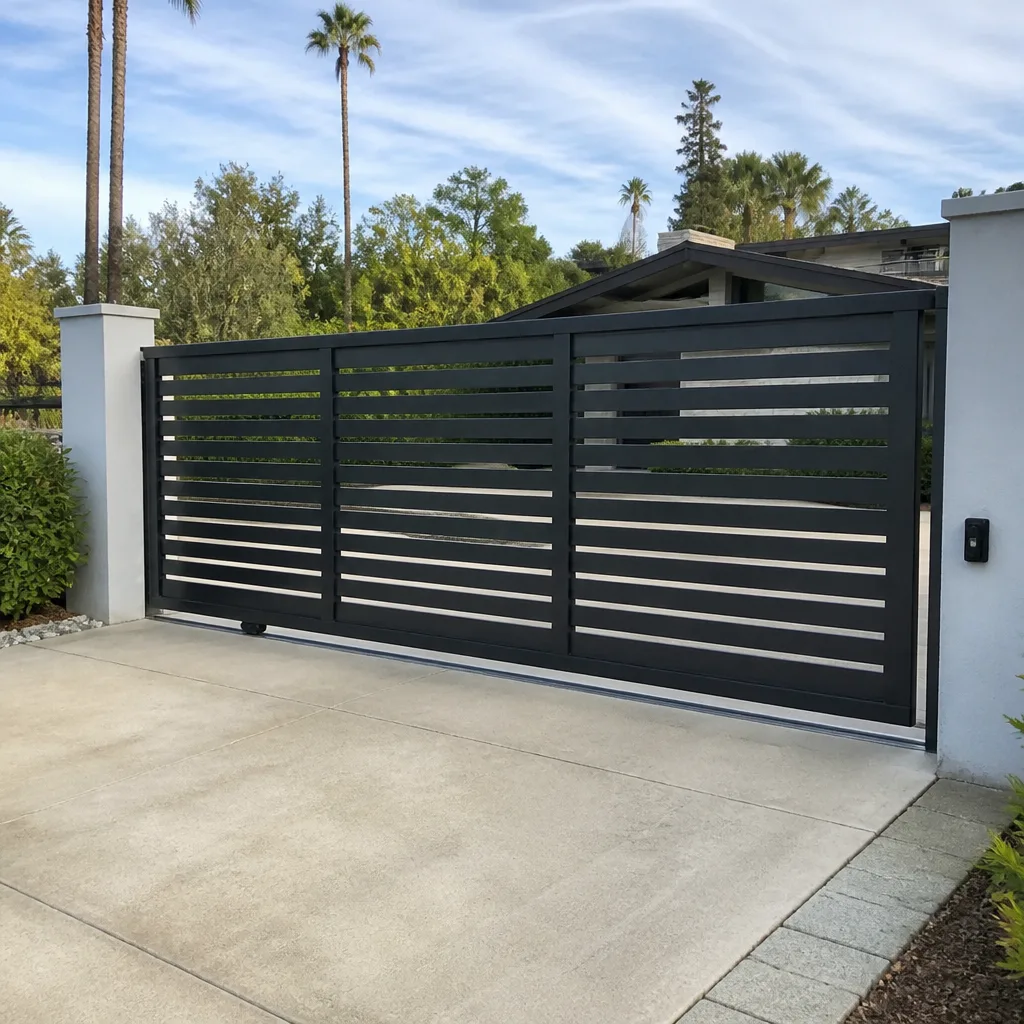 Sliding driveway gates
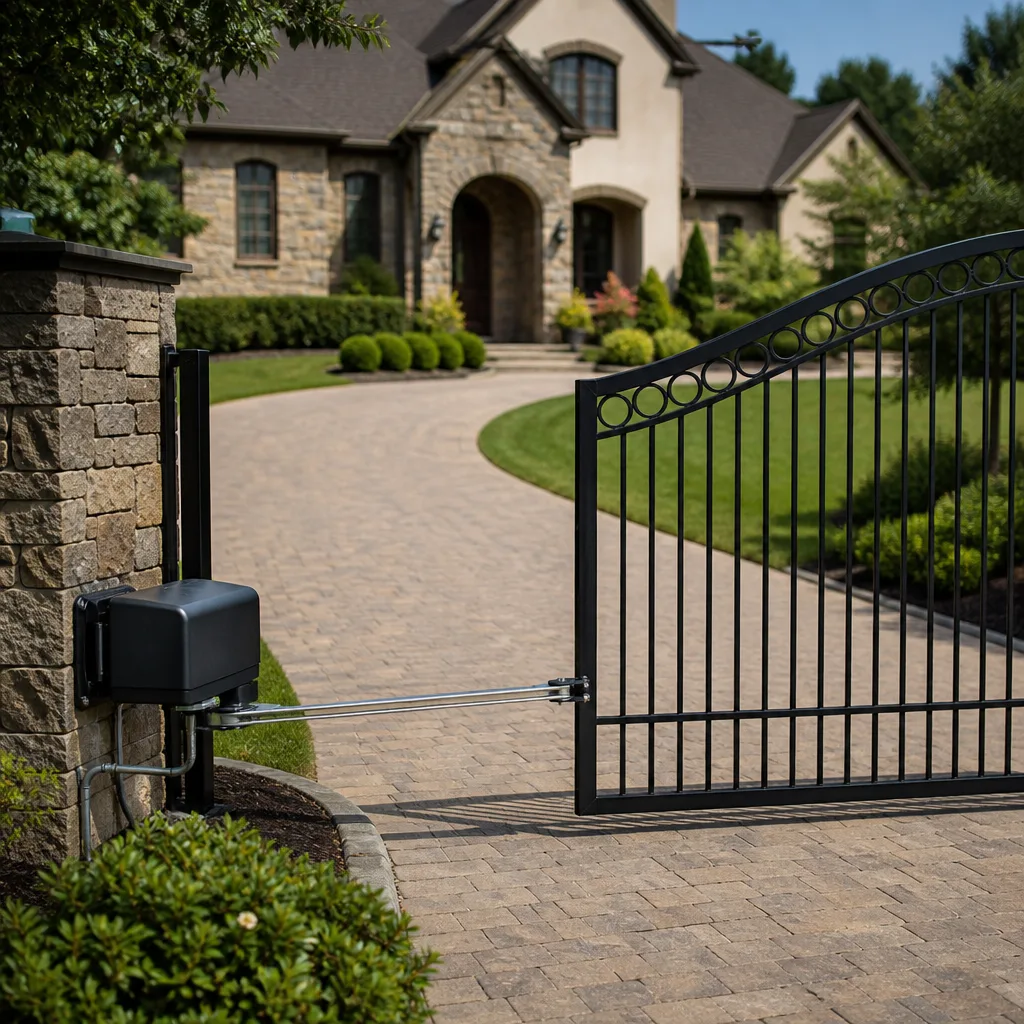 LiftMaster operators
Free on-site gate assessment - hinges, posts, and your LiftMaster or Nice gate operator checked before anything is quoted
The assessment is free and the quote is the invoice.
Get your free estimateDIY vs Professional Gate Repair: The Pomona Homeowner’s Decision Guide
Here’s something most gate-repair guides won’t tell you: the most dangerous DIY gate job in Pomona isn’t rewiring a 240-volt opener. It’s turning a hex screw on a swing-gate operator to increase closing force because the gate keeps reversing. That single adjustment, made without checking the UL 325 entrapment protection afterward, can turn a 400-pound gate into a crush hazard against a child, a pet, or you. Our Gate Repair services guide sorts gate repairs into three honest categories: tasks a capable homeowner can handle with basic tools, tasks that are risky but learnable, and tasks where the smart move is picking up the phone. By the end, you’ll know exactly which bucket your problem falls into, what a professional diagnostic visit in Pomona costs, and how to protect both your gate and your liability.
Styles & brands we work with
- Wrought iron
- Wood & steel frame
- Farm & ranch
- Sliding driveway gates
- LiftMaster operators
Quick Answer
Most homeowners can safely handle lubrication, battery replacement, remote programming, and minor track alignment. But any repair involving gate operator force adjustment, entrapment sensor calibration, control board wiring, or structural post work should go to a licensed specialist, because these failures create life-safety hazards and code violations that a parts-store fix won’t solve. When in doubt, schedule a diagnostic visit before buying parts, since the component you think failed is often a symptom of something upstream.
Table of Contents
- The Three Categories of Gate Repair: Honest Labels for Every Job
- Truly DIY-Safe Tasks: What You Can Do This Weekend
- Risky but Learnable: The Middle Ground Where Preparation Decides
- Hands-Off-Entirely: When the Answer Is Always a Specialist
- The Hidden Cost of DIY Misdiagnosis: Why Guessing Wrong Costs Double
- Using a Professional Diagnostic as a Second Opinion: The Smart DIYer’s Playbook
- Pomona-Specific Considerations: Climate, Code, and Local Reality
- Common Mistakes to Avoid
- When to Call a Professional
- Frequently Asked Questions
- The Bottom Line
The Three Categories of Gate Repair: Honest Labels for Every Job
After enough service calls in Pomona, every gate problem starts to fit one of three patterns. Not by skill level, not by budget, but by the component involved and the consequence of getting it wrong. The first category is genuinely DIY-safe: tasks where the parts are cheap, the tools are common, and a mistake produces a cosmetic problem or a gate that still doesn’t work, rather than a gate that hurts someone. The second category is risky but learnable: jobs that reward careful research, respect the instructions, and admit when the scope creeps beyond what you planned. The third category is hands-off-entirely: work that carries liability, code exposure, or injury potential too serious to rationalize away.
The deciding factor is rarely how handy you are. Plenty of Pomona homeowners who rebuild classic cars in their garages still shouldn’t touch an operator’s force settings. The question is whether the component you’re about to adjust can hurt someone if you calibrate it wrong. On a manual gate, the honest answer is usually no. On an electric gate, the honest answer depends on whether you can verify the safety system after you finish, which most homeowners cannot.
That’s the framework this guide uses throughout. Not “can you” but “should you, and what happens if you’re wrong.”
Truly DIY-Safe Tasks: What You Can Do This Weekend
Before we get into the warnings, let’s give the capable homeowner credit. A meaningful portion of “my gate is broken” calls in Pomona are things you can fix with twenty minutes and a can of lubricant. These tasks share three traits: the parts are inexpensive, the tools are already in your garage, and the worst-case failure mode is a gate that still doesn’t work, not a gate that creates a hazard. Here’s the honest list, with the tool threshold for each.
Lubrication and Cleaning
If your gate squeaks, groans, or moves with visible friction, the fix is often a lithium-based grease on the hinge pins and a dry silicone spray on the track or rollers. This requires a rag, the right lubricant, and about fifteen minutes. On a chain-drive operator, a light coat on the chain keeps noise down. On a slide gate, cleaning accumulated Pomona dust and grit from the track prevents the wheels from binding. Avoid WD-40 as a primary lubricant: it’s a solvent that cleans but doesn’t persist as a lubricating film. This is the single most common DIY win we see, and it costs nothing but a trip to the hardware store.
Battery Replacement and Remote Programming
Most gate openers use a 12-volt sealed lead-acid or lithium battery that fails every two to five years. If your gate works on the wall button but not the remote, or the opener beeps but won’t move, the battery is the first check. Replacing it usually requires a screwdriver and matching the battery’s voltage and amp-hour rating; the label on the existing battery tells you both. Remote programming varies by brand: a Ghost Controls remote pairs differently from a Linear, and a Viking uses yet another sequence. But all three publish the procedure in the owner’s manual, and it’s typically a matter of pressing a learn button on the control board and then a button on the remote. No wiring, no exposure to line voltage, no safety system involved. If you can still read the manual or find a PDF, you can do this.
Minor Track and Alignment Work
On a cantilever slide gate, debris in the track is a constant in Pomona’s dry months; leaves, gravel, and dust accumulate and force the gate to work harder. Clearing the track and checking that the guide wheels run true is a legitimate DIY task. On a swing gate with a slight sag, tightening hinge bolts is often enough. The threshold: if the gate needs more than a quarter-inch of shim or the post itself moves when you push on it, stop and read the next sections. That’s structural, not alignment.
None of these tasks require you to open the operator housing, touch a control board, or adjust a force setting. That’s the line, and it’s a bright one.
Risky but Learnable: The Middle Ground Where Preparation Decides
Between “just do it” and “call someone” lies a band of tasks where success depends entirely on research, patience, and knowing where your knowledge runs out. These jobs won’t necessarily hurt anyone if done wrong, but they can destroy an operator, trash a control board, or turn a $30 fix into a $900 replacement. Some Pomona homeowners genuinely enjoy this work, and we respect that. Here’s what it actually requires.
Reading a Wiring Diagram
If a sensor wire has pulled loose from the control board, reattaching it is mechanically simple: strip the wire, land it on the correct terminal, tighten the screw. But the moment you open a LiftMaster or BFT control board, you’re looking at a row of labeled terminals: +24V, GND, OPEN, CLOSE, SAFETY, LOOP. Landing a wire on the wrong terminal often creates a short that fries the board on the next cycle. The skillset isn’t soldering; it’s reading a wiring diagram and mapping the wire colors to the terminal labels. If that sentence makes you uncomfortable, this task belongs in the next section. If it sounds manageable, the job is learnable with the manual open and the power disconnected.
Replacing a Safety Sensor
Photo-eye sensors on a gate work like those on a garage door: an emitter and a receiver that stop the gate when something crosses the beam. They fail from sun exposure, Pomona’s summer heat, or simple age. A replacement sensor costs $30 to $80 and usually mounts with two screws and wires into the same terminals as the old one. The trick is alignment; the beam has to hit the receiver dead-on or the gate refuses to close. This is reasonable DIY terrain if you can duplicate the old wiring and align the beam. It’s also the point where some homeowners decide the frustration isn’t worth it, which is a fair call too.
Interpreting a Basic Fault Code
Modern operators flash an LED or display a number when something’s wrong. A DoorKing board might flash three times for a reversing-edge fault; a Viking might show a different pattern for an interrupted loop. Learning to read these codes is a skill worth having, even if you never turn a wrench, because it tells you whether to even bother with DIY. The manual describes what each code means. The limitation: fault codes point to a circuit, not a cause. A reversing-edge fault could mean a bad edge, a broken wire, a dead sensor, or a board problem. That’s the boundary where diagnosis outruns the manual, and it’s precisely where a professional diagnostic earns its fee.
Hands-Off-Entirely: When the Answer Is Always a Specialist
Now the categories that shouldn’t be debated. These tasks carry one or more of three disqualifiers: the risk of serious injury, the existence of a code requirement you likely don’t know, or the financial exposure of getting it wrong. A tool collection doesn’t change the calculus. Neither does watching a video.
Operator Force Adjustment
Every automatic gate sold in the United States must comply with UL 325, which sets maximum closing force and requires an entrapment protection device that reverses the gate before it can injure someone. Here’s the uncomfortable truth: adjusting an operator’s force setting without recalibrating or verifying the entrapment system is the most dangerous thing a homeowner can do to a gate. Turn the force up to overcome a dragging wheel, and you’ve armed a heavy machine with more closing power than the safety system is tuned to stop. DIY forums call this “just tighten the screw and it’ll close.” We call it a crush hazard. This is the single task where we will never give a homeowner instruction, and any honest gate specialist won’t either.
Entrapment Sensor Calibration
Photo-eyes, reversing edges, and loop detectors all fall under the same UL 325 umbrella. Adjusting them isn’t just alignment; it’s calibrating where the gate stops, how fast it reverses, and whether the safety system actually triggers under load. Get it wrong and the gate may reverse too slowly, or not at all. Testing requires a force gauge and the procedure from the operator’s service manual, not just holding your hand in the beam. In Pomona, where many properties back up to alleys or streets with foot traffic, a miscalibrated sensor isn’t a theoretical risk. It’s a gate that’s one failure away from harming a neighbor’s kid on a bike. This is specialist territory, full stop.
Control Board Replacement and Hardwiring
Replacing a control board means moving every low-voltage wire from the old board to the new one, in the correct order, with the correct polarity. On a multi-brand landscape where DoorKing boards don’t wire like FAAC boards and neither matches a Linear, the opportunity for a cross-wire mistake is high. Line-voltage work, running 120 or 240 volts to the operator, adds an electrical hazard on top of everything else. This is not learnable from a weekend of YouTube; it’s learnable from years of seeing where the last guy went wrong. We service all three brands side by side, and we still verify each wiring diagram before landing the first wire.
Structural Post and Hinge Work
A sagging gate often isn’t a hardware problem; it’s a foundation problem. The post that holds a swing gate’s weight is set in concrete, and when it shifts in Pomona’s clay soil or the post rusts at grade, the hinge bolts can’t fix the geometry. Repairing it means cutting the gate free, removing or resetting the post, and welding or bolting new hinge plates in a position that restores the gate’s swing path. This is heavy, dangerous, and unforgiving. A gate under tension can spring when cut free. The post itself can weigh 200 pounds. This is why structural gate work always begins with “is the post still solid,” not “does the gate still move.”
The Hidden Cost of DIY Misdiagnosis: Why Guessing Wrong Costs Double
Here’s the pattern we see at least twice a month in Pomona. A homeowner’s gate stops closing. They search online, find a forum post saying “sounds like your sensor,” and order a $60 photo-eye from an online retailer. The part arrives, they spend an afternoon installing it, and the gate still doesn’t close. Now they’re out $60 and a Saturday, and the actual problem was a failing relay on the control board or a corroded wire splice that’s been degrading for years. That’s the hidden tax on DIY diagnosis: the part you buy isn’t free just because you installed it yourself, and a wrong guess means you paid retail price for the privilege of delaying the repair.
The deeper problem is that gate systems are interconnected. A reversing-edge fault can originate in the edge sensor, the wiring, the control board input, or even the power supply; each presents with the same blinky light, but the fixes range from $30 to $700. A novice reads the code and attacks the most visible component. A trained technician starts from the schematic and tests upstream. The difference isn’t intelligence; it’s that we’ve seen the same failure present a dozen different ways, and we know which test isolates the cause in five minutes rather than five hours.
Then there’s the compounding cost: a misdiagnosed opener that keeps cycling against a damaged track will eventually destroy the operator. A sagging gate that’s repeatedly forced by a turned-up motor will tear up the hinge bearings. So the original $60 sensor guess becomes a $400 board, then an $800 operator, then a $2,000 full assembly. The inexpensive fix wasn’t fixing anything. In our experience, the cheapest repair in Pomona is usually the one that’s diagnosed correctly the first time. For deeper insight into typical expenses, see our Gate Repair Cost Breakdown: The Pomona Homeowner’s Reference for 2026, which is why the next section exists.
Using a Professional Diagnostic as a Second Opinion: The Smart DIYer’s Playbook
The sharpest DIYers in Pomona don’t insist on doing everything themselves. They use a professional diagnostic visit the way a car owner uses a mechanic’s scan: to confirm a theory before spending money on parts. This is a legitimate strategy, and we respect the people who use it well. Here’s how to make it work.
- Do your homework first. Observe the gate’s symptoms carefully. Does it fail in both directions or only close? Does the opener click but not move? Is the remote the only thing that stopped working? Write it down. The more precise your description, the more valuable the diagnostic becomes.
- State your theory, not your certainty. Say, “I think it’s the limit switch because the gate stops three feet short” rather than “I need a limit switch.” The first sentence invites verification. The second invites a part sale. A good gate repair specialist in Pomona will test your theory against the evidence and tell you if you’re right.
- Ask for the test result, not just the conclusion. “The control board isn’t sending voltage to the motor terminals” is a diagnosis. “You need a new board” is a verdict. Ask for the voltage reading, the fault-code interpretation, the continuity test result. If the technician can explain why the part is bad, they’ve earned the conclusion.
- Buy parts only after the diagnosis confirms the failure. This is the whole point: the diagnostic visit costs $75 to $150 in Pomona, and it prevents the $150 mistake of buying the wrong sensor, motor capacitor, or board. That’s not a service fee; it’s insurance on your parts budget.
- Be honest about your limits when the diagnosis comes back. If the finding is a bad board or a failed safety edge, the diagnostic saved you from ordering the wrong part. The next question is whether you want to attempt the replacement yourself. There’s no shame in saying “that’s beyond me” after a technician has already narrowed the problem to one specific component.
We’ve had Pomona homeowners bring their gate’s fault-code sequence to us, describe the symptoms, and walk away with a confirmed diagnosis they used to fix the gate themselves. That’s a good outcome. The bad outcome is ordering parts on a guess and discovering the guess was wrong after the return window closed. The first approach works because it respects what you know and what you don’t.
Pomona-Specific Considerations: Climate, Code, and Local Reality
Gate repair in Pomona isn’t identical to gate repair in, say, coastal San Diego or the wet side of Washington. The local environment, local building expectations, and local use patterns all shape which failures you’ll see and how quickly they compound. Understanding these factors helps you anticipate problems before they strand your gate open, or worse, half-closed across your driveway. For additional preparation tips, read our Gate Repair Emergency Preparedness Guide for Pomona Homes.
Climate: Heat, Dust, and Thermal Cycling
Pomona’s summers push into triple digits with regularity, and that heat stresses every component in a gate system. Control boards run near their thermal limits, especially units mounted inside exposed metal housings that bake in direct afternoon sun. Capacitors degrade faster in heat. Photo-eye lenses cloud from UV exposure. Batteries fail earlier than their rated life when stored in unshaded operators. The dusty, dry air also works its way into slide-gate tracks, chain drives, and limit switches, creating friction that mimics mechanical failure. When we’re called to a Pomona gate that “went dead” in August, the first suspects are heat-failed components and heat-expanded metal, not the homeowner’s wiring.
Code and Safety: UL 325 Is Federal, Not Optional
Every automatic gate operator installed or significantly adjusted in Pomona must meet UL 325 requirements for entrapment protection. This is a national safety standard, not a Pomona city peculiarity, but it matters more in a dense residential setting where gates face sidewalks, alleys, and frontage roads. A gate that closes across a sidewalk or alley without functional entrapment protection creates a public hazard, and a homeowner who adjusted the operator’s force settings may bear liability if someone is injured. This is the strongest argument for keeping your hands off force and sensor work. A specialist in electric gate repair in Pomona tests the entrapment system as part of any service that touches the operator or safety circuit.
Local Use: Alleys, Multi-Family Properties, and Round-the-Clock Access
Pomona’s housing stock includes a mix of single-family detached homes, multi-unit properties, and older neighborhoods with alley-loaded garages. A gate failure on a single-family home is an inconvenience. A gate failure on a multi-family property can block residents, deliveries, emergency access, and property management workflow. Property managers in Pomona tend to need faster turnaround than homeowners, and they can’t afford the trial-and-error of a parts-swap repair. That’s why the electric gate repair work in Pomona tends toward the urgent end of the spectrum, and why a service that already knows Linear, Ghost Controls, Viking, and DoorKing hardware saves time in the diagnostic phase.
Common Mistakes to Avoid
- Turning up the close force to fix a gate that’s binding. The gate is binding because something is worn or misaligned. More force masks the symptom, overrides the safety system, and accelerates the damage. This is the single most dangerous mistake we see on Pomona service calls.
- Replacing the battery before checking the charger. If the opener’s charging circuit has failed, a new battery will run the gate for a few weeks and then die the same way. The battery was a symptom; the charger was the disease.
- Using automotive grease on gate tracks. Wheel-bearing grease on a slide-gate track collects Pomona dust and grit until the gate rolls through a grinding paste. Dry lube or a light machine oil is the correct choice, not the heaviest grease in the garage.
- Ignoring intermittent failures. A gate that works “most of the time” but fails once a week is a gate that’s about to fail permanently. Intermittent problems are usually wiring, thermal, or connection issues that only get worse, and diagnosing them early is cheaper than diagnosing them after the gate is stuck open at midnight.
- Wiring a new sensor without checking polarity. Many photo-eyes and safety edges have specific wiring polarity. Reverse the wires and the gate may think the beam is always blocked, or never blocked; either failure mode defeats the safety system in a way that’s not obvious until someone tests it.
- Attempting a post repair with the gate still attached. Cutting, shimming, or resetting a post while the gate hangs on it is how people get crushed. The gate has to be supported or removed first, which is a job for equipment and experience, not a come-along and hope.
- Skipping the diagnostic because “the part is cheap.” The cheapest component to buy is often the wrong component. A $40 sensor order is cheap right up until it doesn’t fix the problem and you’ve bought the privilege of waiting another week for the right part.
When to Call a Professional
Call a professional when the repair involves the operator’s force settings, entrapment sensors, control board wiring, or anything structural. Call before you order parts if you’ve narrowed the problem to “something in the operator” but can’t say which of three possible components is actually at fault. Call if the gate handles pedestrian or street traffic and the failure has removed a safety device from the system. Call if you’ve already replaced a part and the problem returned; that’s evidence your diagnosis missed the real cause. Gate Repair Pomona provides gate installation in Pomona when a repair isn’t the right call, and the same team that diagnoses your existing system can spec a replacement if needed. We cover all three service lines: gate repair, electric gate repair, and gate installation, and we service all nine major brands, including Linear, Viking, Ghost Controls, and DoorKing. For a free estimate in Pomona, call (855) 382-5690.
Frequently Asked Questions
You can safely handle lubrication, battery replacement, remote programming, and minor track or hinge-bolt alignment. For more guides & resources, These tasks use common tools, don’t require opening the operator housing, and don’t affect the entrapment protection system that keeps the gate safe.
Most Pomona gate repairs fall between $150 and $600 depending on the component: a sensor replacement runs $150 to $300, a control board $400 to $700 installed, and a post reset can exceed $800. A diagnostic visit typically costs $75 to $150, and we quote the repair before any work begins so the invoice never exceeds what you approved.
In most cases, yes. We keep common components stocked for the brands we service, which means many repair calls in Pomona are completed same-day. Call (855) 382-5690 to check current availability and get a free over-the-phone estimate.
Adjusting the operator’s closing force without re-verifying UL 325 entrapment protection is the most dangerous DIY action. It turns a balanced gate into a crush hazard and may expose you to liability if someone is injured. Leave force and sensor calibration to a specialist who can test the safety system after any adjustment.
Our technicians are factory-familiar with nine major gate and operator brands: LiftMaster, FAAC, BFT, Linear, Viking, Ghost Controls, DoorKing, Elite, and Mighty Mule. We diagnose brand-specific fault codes and source brand-correct parts; this keeps us from recommending a replacement when the existing hardware still has life in it.
Push on the gate post with moderate force. If the post flexes or the concrete base moves, the problem is structural and needs a professional. If the post is solid but the gate sags or scrapes, the cause is usually a worn hinge, a loose bracket, or track wear, which may still require a specialist to correct properly rather than mask with force adjustments. Call (855) 382-5690 for a diagnostic and we’ll tell you which category you’re in.
The Bottom Line
DIY gate repair in Pomona isn’t a yes-or-no question; it’s a three-way split. Lubrication, batteries, remotes, and minor alignment are fair game for a capable homeowner. Sensor replacement and fault-code reading are learnable with real research and a willingness to stop when the scope outruns the manual. Force adjustment, entrapment calibration, board wiring, and structural work are not DIY territory, and pretending otherwise courts injury and liability. The cheapest repair is the one diagnosed correctly the first time, which is why a professional diagnostic makes sense even for determined DIYers. When you’re ready to get your gate back in service, Gate Repair Pomona is here: one team, nine brands, and a repair-first approach that respects your existing hardware and your budget. Call (855) 382-5690 for a free estimate.
Written by the team at Gate Repair Pomona, serving Pomona since 2014.
See the difference
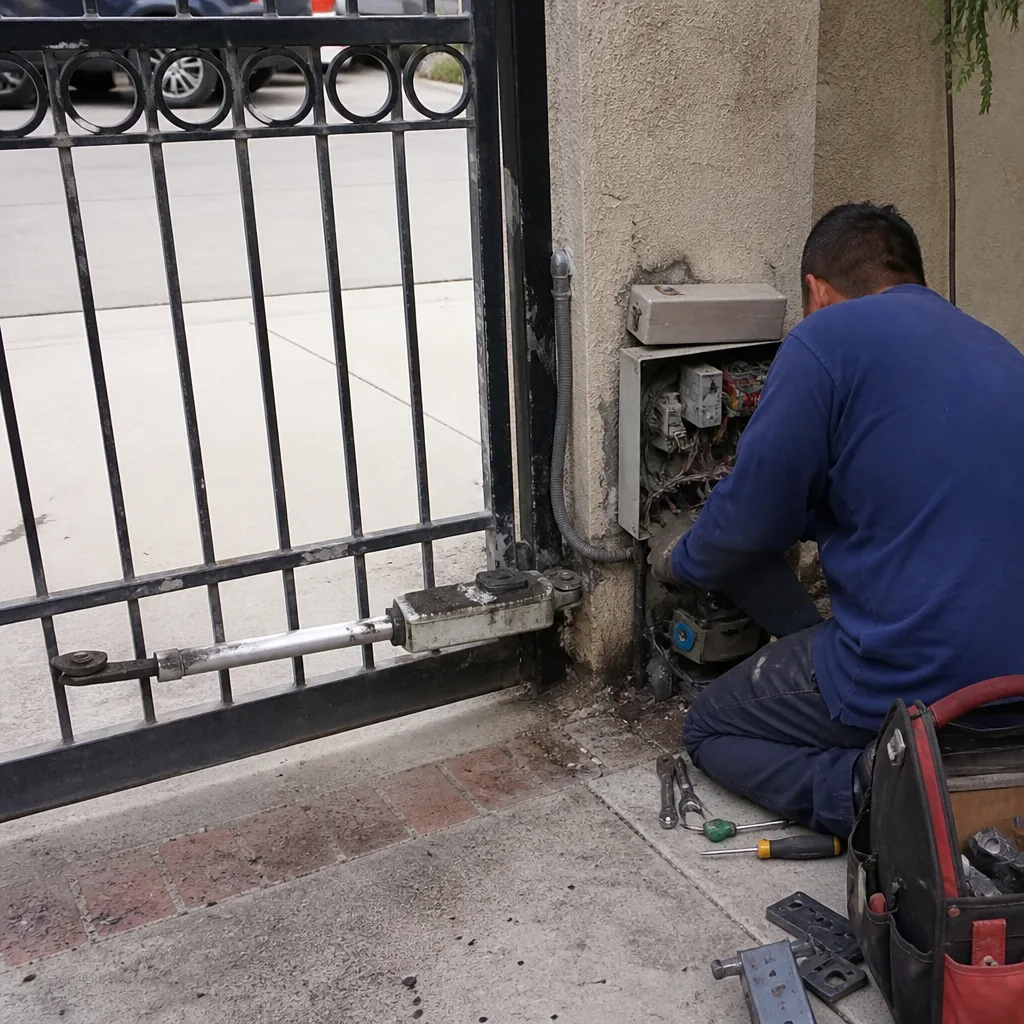 Before
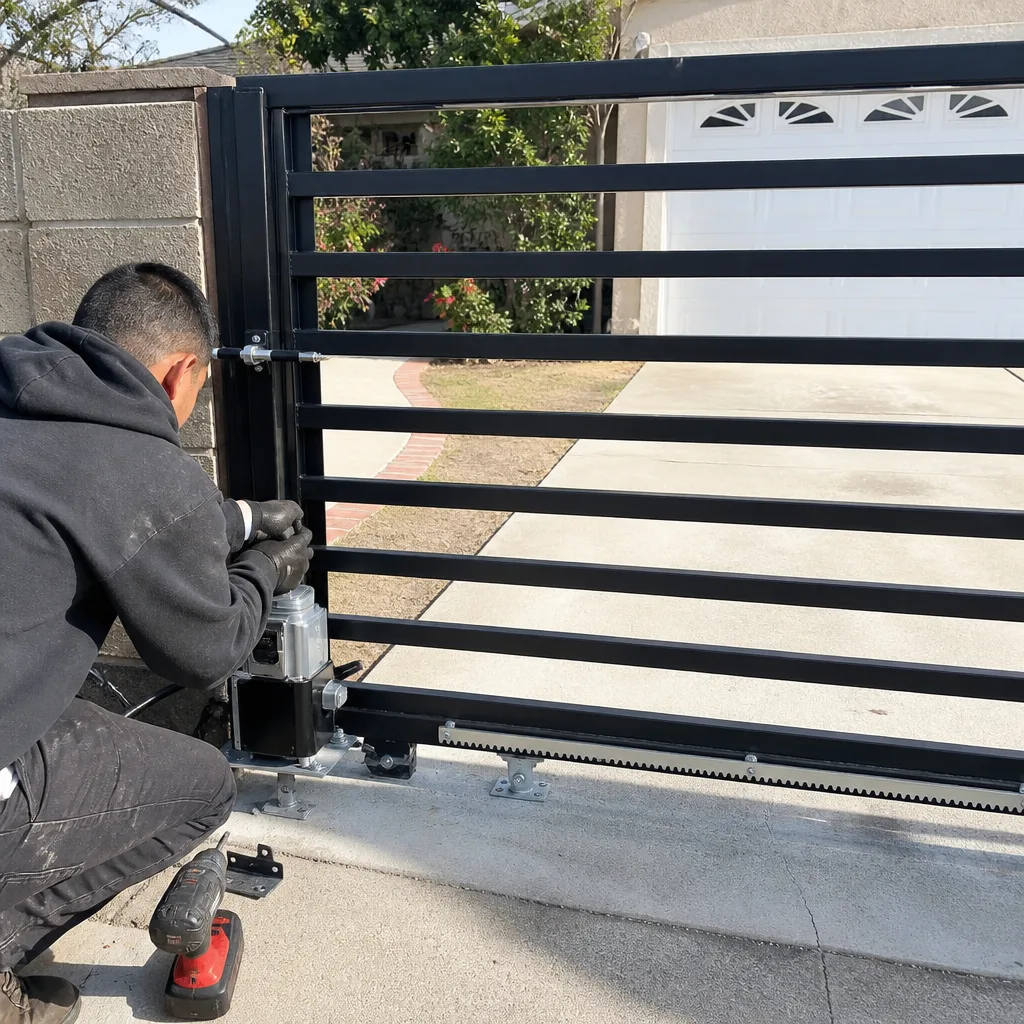 After
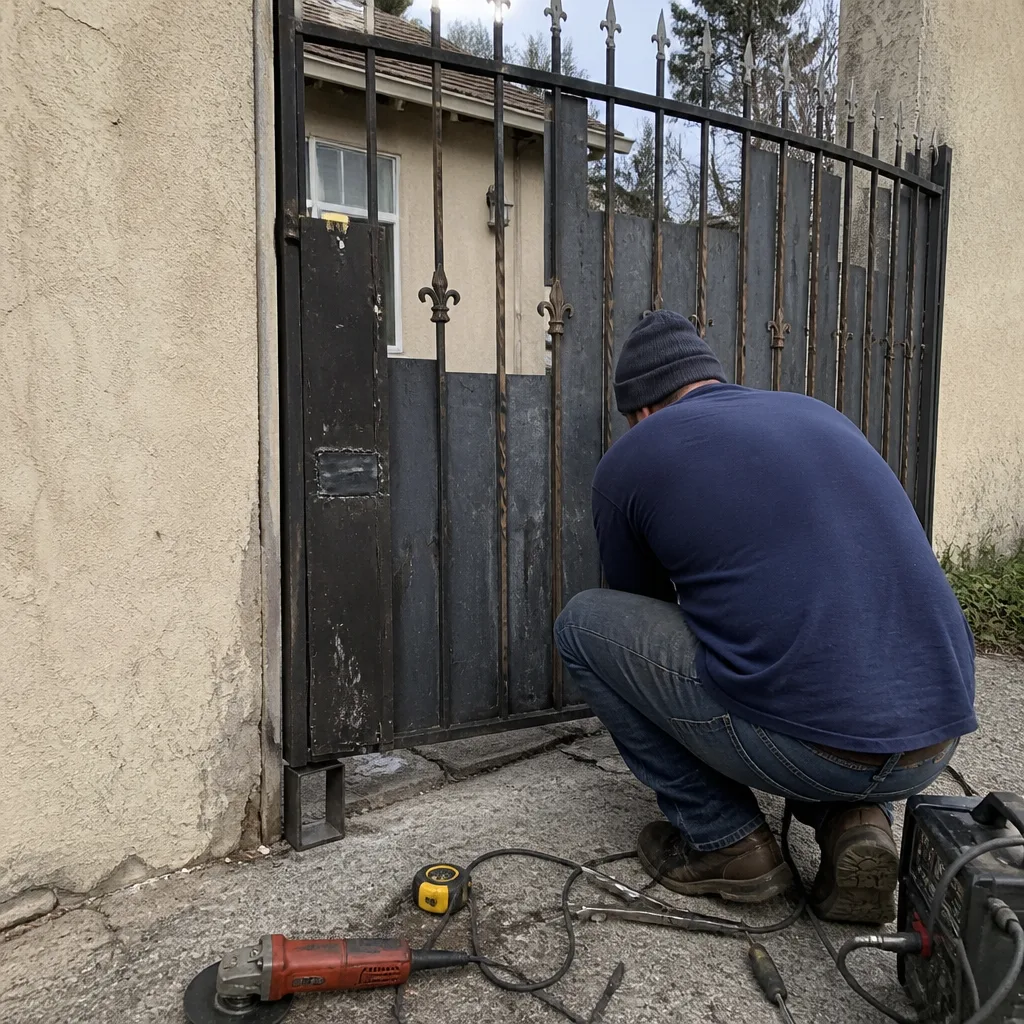 Before
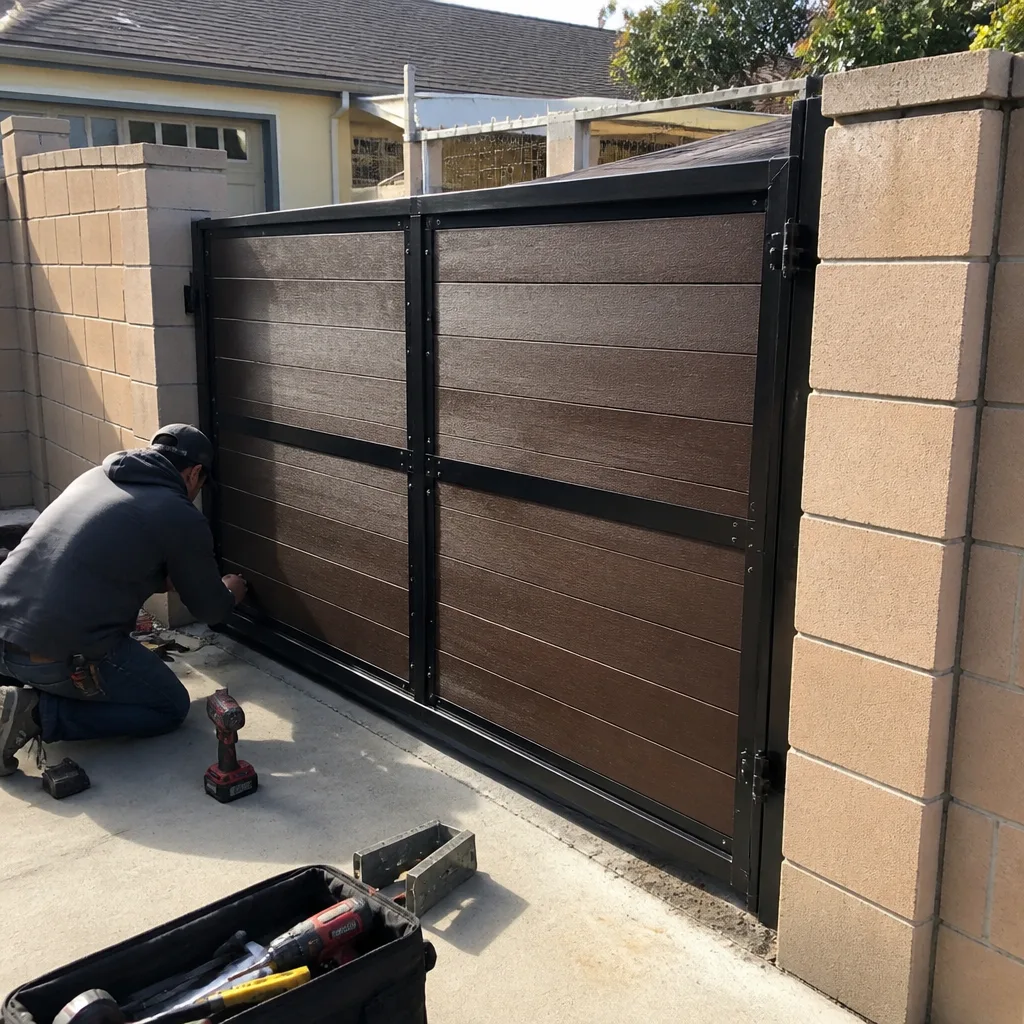 After
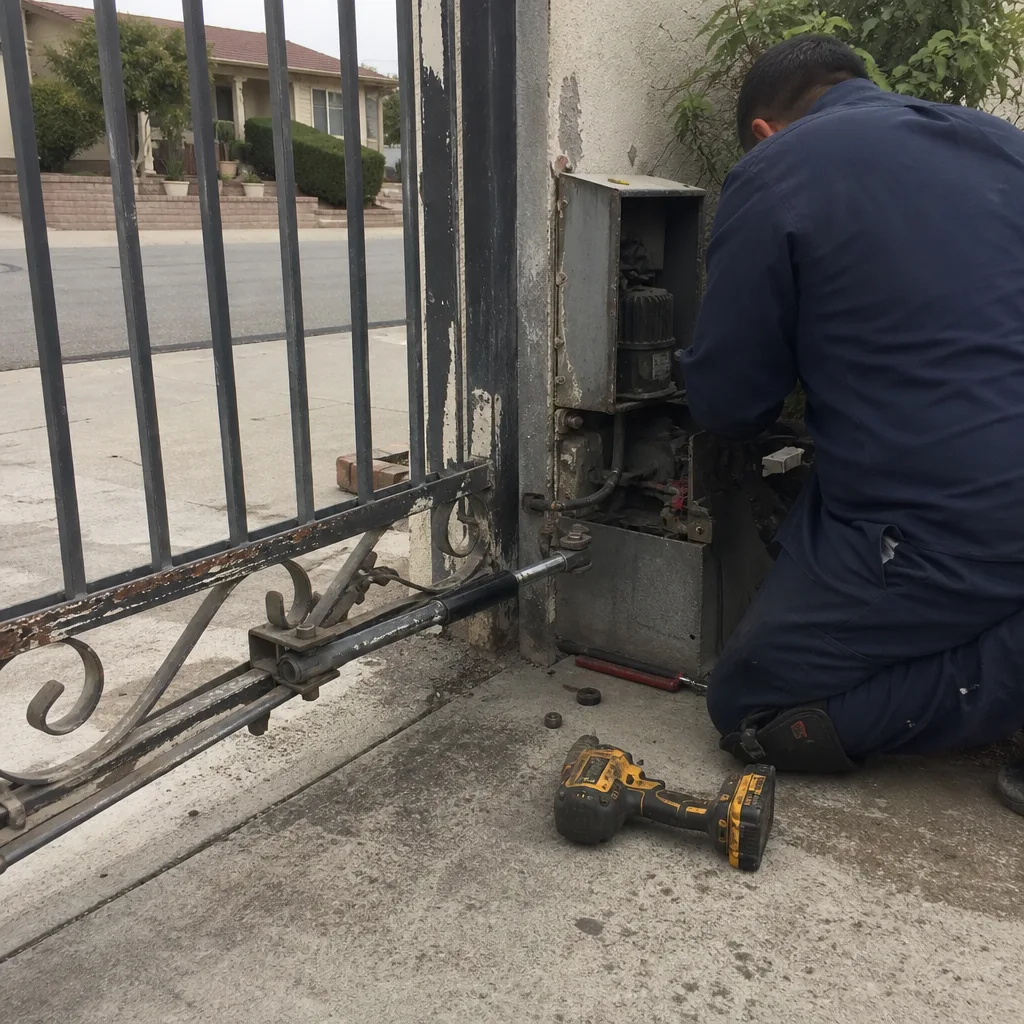 Before
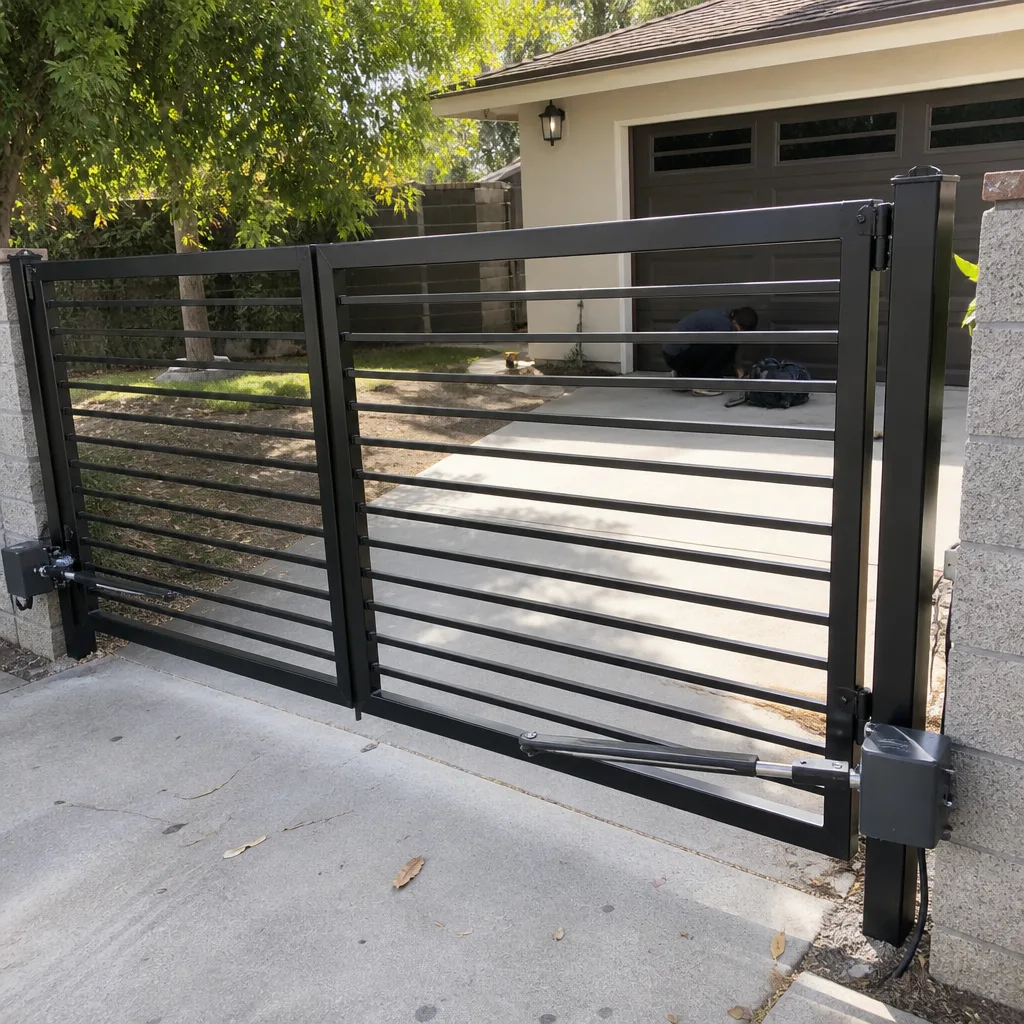 After